I have made bouquets and arrangements for three different weddings, and today I want to show you how to make a super easy bouquet. By altering the number of flowers in the bouquet to change the size, you can use this tutorial to create the bride’s bouquet, bridesmaid’s bouquets, toss bouquet or any other type you might need. I have used silk flowers in this tutorial, as that is my personal preference, but all of these techniques can be used with real flowers instead of silk flowers if you prefer to use them.
The tutorial photos are pictures of the bouquets I made for my sister-in-law, Sarah’s, wedding and I didn’t have my real camera with me, so please pardon the really crappy cell phone pictures. Here we go!
Supplies
- flowers
- scissors, wire cutters or stem cutters
- floral wire (the thin gauge)
- floral tape
- hot glue gun and hot glue sticks
- ribbon or a bouquet wrapper
Directions
Step 1: Gather and prepare your flowers and supplies.
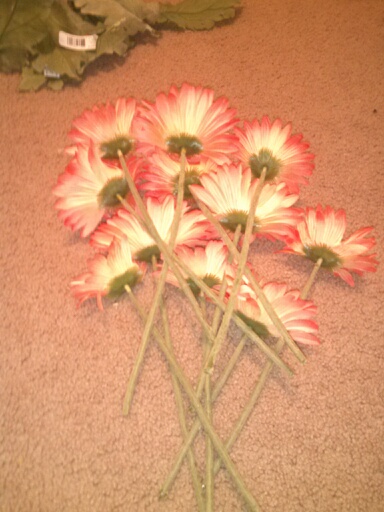
If you bought your flowers as a bunch, you’ll need to cut them off into separate stems. You can buy wire cutters or special floral scissors, but I use a regular old pair of scissors to cut and hack through the rubber on the stem and to score the wire underneath. Then just bend the stem back and forth a few times until the wire breaks. (Note: if your flowers have really thick stems, this may not work. In that case, or if really jagged edges will bother you, invest in a really good pair of wire cutters.) If you want leaves in your bouquet you can leave them on the stems, but I wanted a cleaner look for these so I removed the leaves.
Step 2: Form your bouquet.
In the case of SIL’s bridesmaid bouquets, the flowers were all the same so this was really easy– just stick them together and make sure nothing was sticking out funny. It gets a little more complicated when the flowers aren’t all the same type or size. My personal method of arranging is trial and error. I start with a big flower and start sticking other flowers around it until I’m happy with the way it looks. Sometimes I get it on the first try, others it takes several rounds of starting over with it until I’m happy.
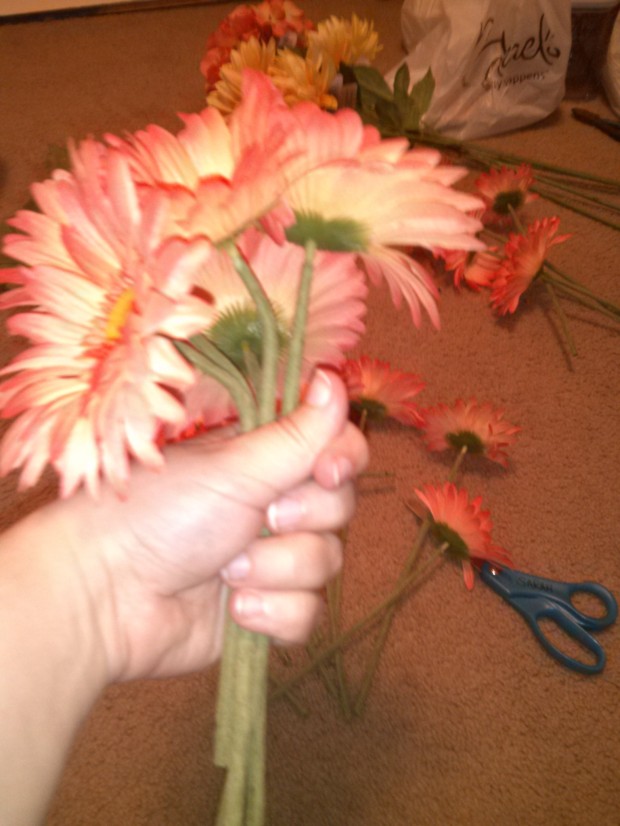
In my experience, the easiest way to hold flowers while you arrange is to grab them in your non-dominant hand between your thumb and palm/fingers. Hold them loosely as you ad in flowers. If you want to turn the bouquet to look at it from a different angle, close your fist and use the other hand to turn the stems. If using silk flowers with wired stems, bend the stems as necessary to create the shape/look of bouquet you want to have. Keep going with this process until you have the bouquet bunch looking how you want it to look.
Step 3: Secure the stems to hold the flowers in place to hold the shape of the bouquet.
You can do this one of two ways: rubber bands or florist wire. The rubber band method works best if you have fairly short stems on your bouquets or a rather long rubber band– otherwise the rubber bands are a bear to get around the stems.
If you are planning to have loose, uncovered stems (this works best if you have uniform stems with no jagged ends), use the floral wire or rubber band to secure the stems tightly about an inch under the blooms. I would recommend covering it with florist tape to give it a little extra hold if you opt to use this method. After securing the stems, cover the securing material with ribbon or something else decorative and your bouquet is done.
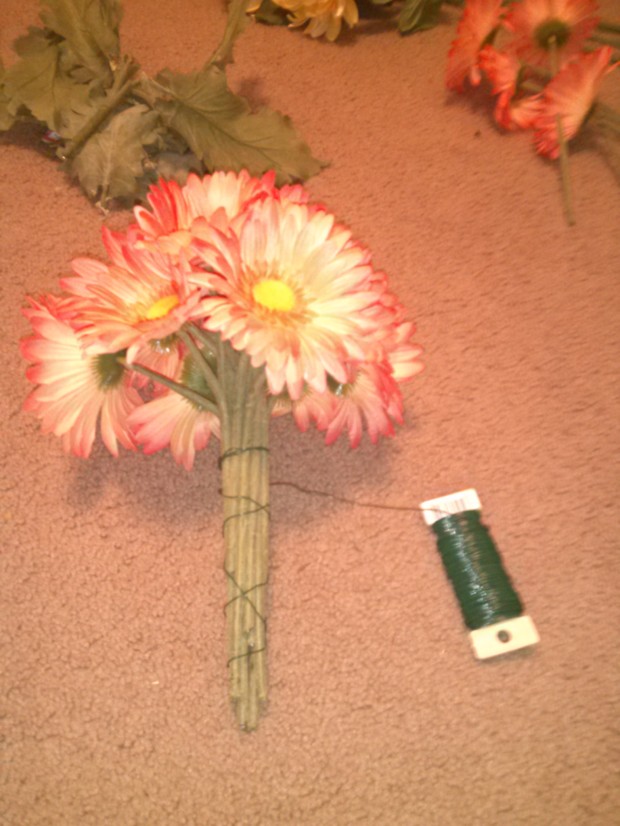
If you are going to have covered stems, the techniques differ for rubber bands or wire (pictured below). The wire criss-cross method only works if you plan to cover the stems with ribbon (or some other kind of bouquet wrapper that will cover the ugly wire).
To use rubber bands (this really only works for bouquets with short stems), get two rubber bands and wrap one around the top of the stems (close to the flowers) and one around the bottom.
My preferred method of securing the stems is wrapping the stems with floral wire.
I start at the top of the stems, make a loop and secure the end of the wire. The I wrap the wire all the way down to the bottom and back up again to form a criss-cross pattern (it doesn’t have to be exact, since you’ll cover it up with ribbon anyway). Cut the wire and make another loop to tie off the end of the wire.
If you are planning to leave the bottom tips of the stems uncovered, at this point you will need to make sure they are all trimmed neatly to the same length. If you are planning to to do a square end that covers the end of the stems, you don’t need to worry about how neat they look, as long as they are roughly the same length.
At this point, you can cover the wire with florist tape or move directly on to the ribbon wrapping.
Step 4: Wrapping the stems.
There are as many ways to wrap a bouquet as there are types of bouquets, and for the most part it is up to personal choice to determine which you will use. You can search bouquet wrap and see any number of kinds of wraps, but if you are looking for tutorials, I recommend Martha Stewart Weddings or a You Tube search once you decide on the type of wrap. I am going to show you a basic ribbon wrap.
You’ll need a hot glue gun (or some other type of adhesive) for this part. Personally, I think the glue gun works best, but a good, strong fabric glue would also work. Starting at the top of the stems where your rubber band or wire wrap starts, glue the ribbon tail to the stems. Make one pass around the stems to make a loop and glue the ribbon on top of the tail you just glued down.
Continue wrapping and gluing all the way down the stems as far as you want to go.
If you are leaving some green stem showing at the bottom, secure your ribbon ends just below the bottom of the wire and tape wrapping. Y
To cover the ends totally (pictured below), fold the ribbon around the bottom of the stems and glue it to make a pretty edge on the bottom of the bouquet. I wrap back up the bouquet stem before finishing, but that is personal preference.
No matter which option of stem coverage you use, the end procedure is the same. Whenever you are done wrapping, cut your ribbon leaving an inch or so of tail. Fold the tail under to make a pretty folded edge to have showing (rather than the ratty cut end of ribbon) and glue it down securely.
Step 5: Finish the bouquet.
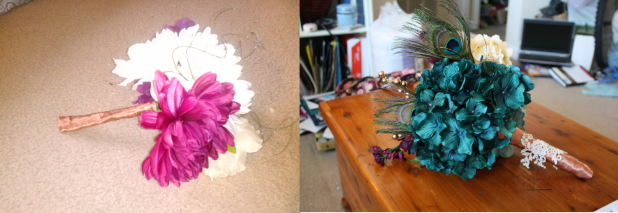
After you have finished the wrapping, you can be done with the bouquet (like the bridesmaid bouquet from my wedding, shown below left) or you can add some pretty finishing details. On SIL’s toss bouquet (shown above) I tied a pretty bow at the top and used the hot glue gun to secure it. For my bridal bouquet (below right), I put a piece of lace from my Mama’s wedding dress on top of the ribbon wrap.
If you are a visual learner like me and need a more in-depth visual tutorial, this video gives a fantastic tutorial on making a basic bouquet.
What do you think? Would you ever DIY your wedding flowers? If you have, what did you do and how did it go?
I was not compensated by any company for this post. I have no affiliation with any stores or brands mentioned in this post.


2 thoughts on “How To DIY Wedding Bouquets”